Katherine the Great
I like to think of myself as a storyteller. Mostly I tell stories about knitting.

This past weekend, my BF from college drove over to visit and was sweet enough to help with my Twilight Party. She’s always been a git ‘er done kind of girl, but since having twin boys, I think she’s kicked it up another notch. THANK YOU, K for the help and the laughs! She hadn’t been to one of my Twilight parties before and wondered if she should have packed vampire teeth. She’s a very good sport, but it’s not that kind of party.

Twilight Party 21012

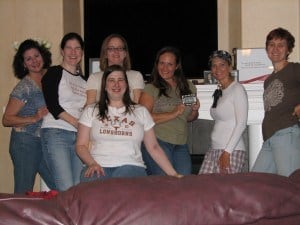
Twilighters


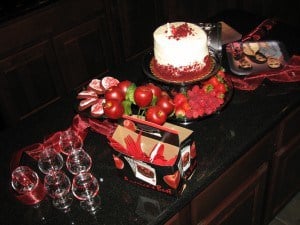
Twilight Party Island_2

my island


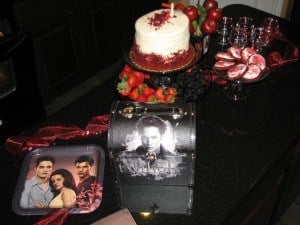
Twilight Party Island

the other side of the island


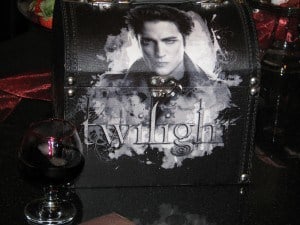
For bloody-rimmed glasses:
Pour some lite corn syrup into a saucer and add a bit of red food coloring. Stir. Add more food coloring until the desired color is reached. Dip the glass into the mix and spin. Stand the glass up and clean the outside so guests do not get sticky from the bloody decoration.
(Thank goodness K found the corn syrup, I couldn’t find it and we almost didn’t have bloody glasses!)

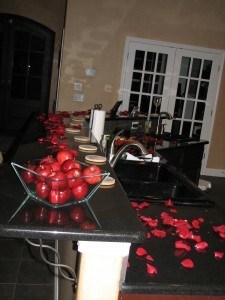
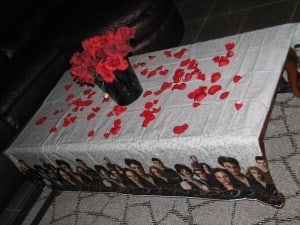
Rose Petals

$5 worth of rose petals went a long way.


Twilight Party Coffee Table

a really long way.


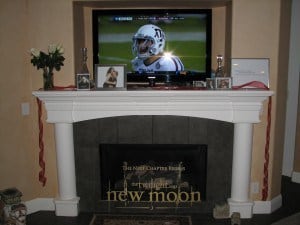
Twilight Party and Aggie Win

An Aggie Win never hurts.


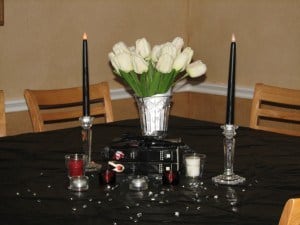
Twilight Party Dining Room Table

Never underestimate what rhinestones can bring to a party.


Dark Knight Rises Cocktail

Drink if you're Team Jacob


Found cool red/black drink on Pinterest for the signature cocktail. It is called “Dark Knight Rises”.
Attempted to buy black vodka (berry flavored) at liquor store.
Proprieters looked at me like I was crazy. (turns out the brand is Eristoff)
Bought black food coloring and clear raspberry vodka.
Added food coloring to vodka (if you must know, I unintentionally added more than was reasonable).
Made drink (ice, 1 oz Cranberry juice, 1 oz lemonade, 1 oz black vodka in that order).
Black food coloring bled into the entire drink (it luckily, did not seem to stain my teeth)….I have dubbed this the Jacob Black Cocktail. Enjoy!
Ps. Happy BD2 Opening Night, Twilighters!


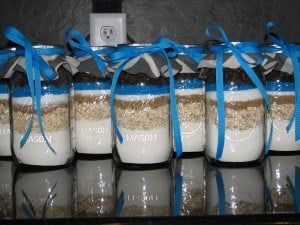
I made pretty cowboy cookie mixes in a jar as prizes for the baby shower and they were a big hit, so I thought I’d share what I learned.

Step 1: Print the recipe from allrecipes.com and buy all the ingredients.
tip: Smooth glass jars are more attractive than regular canning ones if you can find them.
tip 2: Colored sugar kicks it up a notch and lets you color coordinate with your theme more easily than M&M’s.
Cowboy Cookie Mix in a Jar

Step 2: Buy coordinating fabric and 3/8″ grosgrain ribbon. As of right now, Chevron prints are IN. I like to share these bits of info. on the rare occasions that I am in the loop.
tip: Get Fray Stop for the edges of the fabric and ribbon.
tip 2: Use a compass to trace a circle in pencil on the back side of the fabric so you can cut out a perfect circle.

Step 3: Pack the ingredients in the jar in this order: flour, oatmeal, brown sugar, white sugar, colored sugar, chocolate chips, nuts (optional)
tip: Use the back side of an ice cream scooper to pack down the jar so things don’t shift around. I spent more time than I am prepared to admit figuring out what I could use to really pack these down. Yes, I went out and tried to buy a pestle.
Cowboy Cookie Mix in a Jar

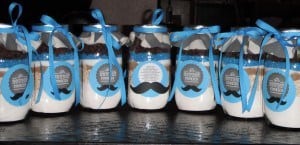
Step 4: Print out the recipe and label from bakerella.com.
tip: you can stick this to the jar with ribbon tape (like you would use to stick ribbons on handmade cards), but regular double-stick tape doesn’t work.
tip 2: If your color scheme includes black or gray, you can just print the labels in black and white and you’re good to go.

That’s it!


Tags: , ,
Oct 15
2012
Comments Off on Steps to your own no-bake Twilight Cake
Category: food

Breaking Dawn 2 is coming out in about a month, so I’m starting to think about Twilight party preparations. I realized I’d never posted how to upgrade a regular storebought cake to Twilight party quality, so here you go!

1. Buy what I think is a 1/4 sheet cake at your local grocery store. I got an Italian Cream Cake, but I’m hoping next time that there’s a red velvet option. It was in the fridge section and had hard cream cheese icing with chocolate decorative swirls on top.
2. Buy black decorating gel.
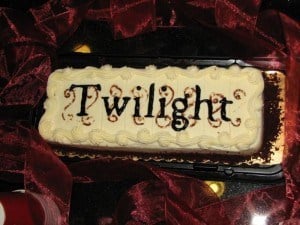
3. Use toothpicks to carefully peel the icing design off the top of the cake. You can still see where the chocolate icing design bled onto the top of the cake behind “Twilight”, but the icing itself is gone.
Twilight Cake
4. I printed the word Twilight out (using Google images search) and carefully cut the letters out – leaving the template/stencil. You’ll need an exacto knife, a cutting board, and some patience.
5. Place the template on the cake and paint it in with the black gel icing until “Twilight” has emerged.
6. Carefully remove paper stencil and stick the the cake in your fridge until you’re ready to serve it to your fellow Twilighters.


Tags: , ,

Powered by Wordpress
This theme is a modification of BlueMod by FrederikM.de
Which was a modification of the blueblog_DE Theme by Oliver Wunder