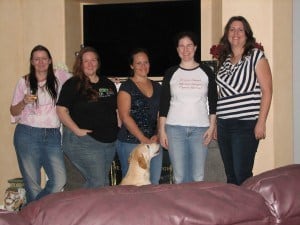
Friday night, I saw Breaking Dawn Part 2 with the girls.
1. Bones and I got there an hour and a half early to save seats, but there was no line. I suppose we picked our theater wisely, but it just didn’t feel like a Twilight Opening Night with no line drama. I did get a pretty weird look from the lady working concessions when I asked where the line would be forming, so I shall have to make do with that.
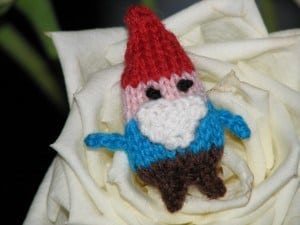
2. I attempted to work on gnomes while waiting in the non-line, but it turns out gnomes are not that great for travel knitting. I’ll have to start a plain pair of socks soon. Here’s the gnome whose pants were done that night.
3. The movie was better than I expected. The costumes were very well done and there were plenty of special effects. The screen-writing, while still Twilight, has improved with each movie.
4. There was some knitwear, but nothing worth mentioning.
5. I am now Team Benjamin…and lest you think I’m a cradle-robber kind of gal, the actor is in his 30’s. (and after you see the movie, I’m sure you’ll agree.)
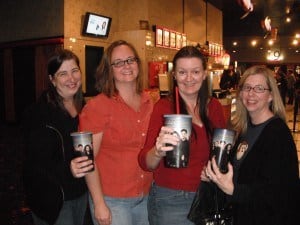
6. We got souvenir cups. I know. You’re jealous.

Ps. To see what others are making for the Christmas Ornament Swap, click here.
Tags: breaking dawn,
gnome,
Twilight
Comments Off on Steps to your own no-bake Twilight Cake
Category:
food
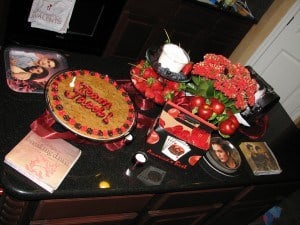
Breaking Dawn 2 is coming out in about a month, so I’m starting to think about Twilight party preparations. I realized I’d never posted how to upgrade a regular storebought cake to Twilight party quality, so here you go!
1. Buy what I think is a 1/4 sheet cake at your local grocery store. I got an Italian Cream Cake, but I’m hoping next time that there’s a red velvet option. It was in the fridge section and had hard cream cheese icing with chocolate decorative swirls on top.
2. Buy black decorating gel.
3. Use toothpicks to carefully peel the icing design off the top of the cake. You can still see where the chocolate icing design bled onto the top of the cake behind “Twilight”, but the icing itself is gone.
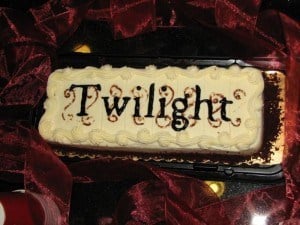
4. I printed the word Twilight out (using Google images search) and carefully cut the letters out – leaving the template/stencil. You’ll need an exacto knife, a cutting board, and some patience.
5. Place the template on the cake and paint it in with the black gel icing until “Twilight” has emerged.
6. Carefully remove paper stencil and stick the the cake in your fridge until you’re ready to serve it to your fellow Twilighters.
Tags: cake,
MIY Monday,
Twilight

![Thanks to therapy and figuring out the ending of my book, we made a big change this year. I’m sharing the news with my Inner Circle later this month.
Spoiler alert: it’s happy news!
If you’ve enjoyed my Inner Circle Email short romances, please leave a comment for the algie gremlins.
I hope you’re having the week you need, Crew! I love you!!!
[ID: ramen and a purply pink Constellate hat in progress] #funnyparanormalromance](https://www.metzroth.com/katie/wp-content/plugins/instagram-feed/img/placeholder.png)


